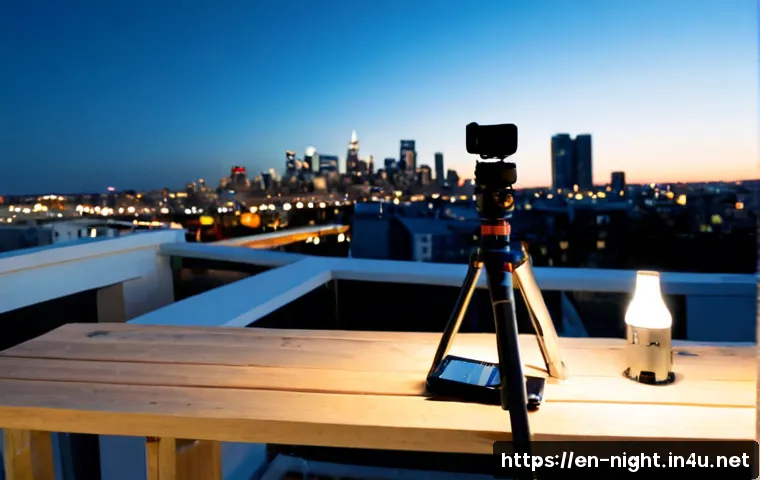
For most night photography, start with a stable tripod, a hands-free shutter trigger method, and a charged spare battery. These three accessories address the most common causes of disappointing night images: camera movement, vibration at the shutter press, and lost shooting time from drained power.
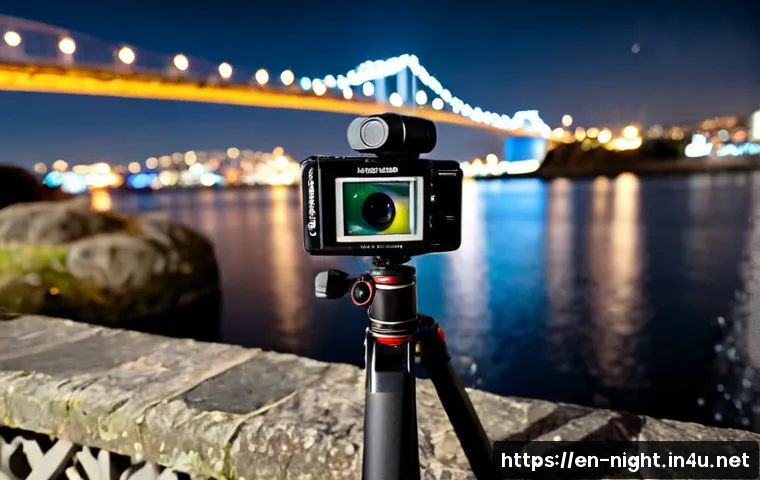
A tripod buying guide is more useful when it focuses on your camera weight, lens size, and shooting location rather than brand claims. Remote shutters, self-timers, and compatible camera apps can all reduce vibration without adding much complexity.
Extra accessories such as filters, lens hoods, and compact lights can be helpful, but they should solve a specific problem in your setup. Choose gear based on the limitation you face now, whether that is unstable long exposures, limited battery life, or difficult travel packing.
At a Glance
- Stable tripod: The highest-value support for static scenes photographed at slow shutter speeds.
- Trigger method: A remote shutter, cable release, camera app, or self-timer can reduce movement from pressing the shutter.
- Spare power: A charged extra battery is especially useful for long outdoor sessions and cold conditions.
| Accessory | Primary Problem It Solves | Check Before Buying | Buy Now or Skip for Now? |
|---|---|---|---|
| Tripod | Camera shake during slow shutter speeds | Camera and lens weight, height, leg locks, head type, local rules | Buy now for skylines, waterfronts, and long exposures |
| Remote shutter or cable release | Vibration caused by pressing the shutter button | Camera model and connection compatibility | Buy now if the self-timer or app control is inconvenient |
| Spare battery | Interrupted shooting from battery drain | Correct battery model and charging options | Buy now for travel, cold weather, or extended sessions |
| Lens hood | Some stray light entering the lens | Lens-specific fit and whether it blocks your framing | Consider after the core setup is covered |
| Neutral density filter | Intentional exposure extension | Filter size and a clear exposure goal | Skip for now unless long exposure is your specific aim |
The Short Answer: Start With Stability, Trigger Control, and Backup Power
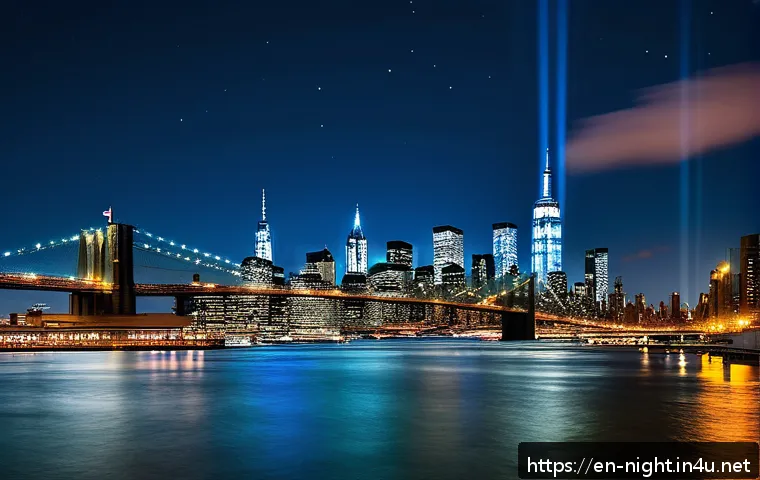
The practical starter kit for night photography is not necessarily large. For most photographers, a stable tripod, a way to trigger the shutter without touching the camera, and backup battery power solve the most frequent low-light shooting problems. This combination is useful for cityscapes, skylines, waterfront views, and other static scenes where slow shutter speeds make small movements more visible.
The three accessories that solve the most common night-shooting problems
A tripod provides the stable support that handheld shooting cannot reliably provide for very long exposures. A remote shutter, cable release, smartphone camera app, or self-timer helps reduce the movement that can happen when your finger presses the shutter button. A spare battery keeps a session from ending early, particularly when you are outdoors for a long time or shooting in cold conditions.
What can wait until you know your shooting style
Do not treat every accessory as essential. A lens hood may help reduce stray light in some situations, but bright streetlights can still create flare. Neutral density filters are mainly relevant when you intentionally want a longer exposure; they are not required for every city-at-night image. Buy these items when you can name the problem they will solve in your own photos.
Compare Essential Gear by Problem, Not by Marketing Claims
Night photography accessories should be compared by shooting limitation, not by the number of included features. Start with the type of scene you shoot, how far you carry gear, and whether the camera must remain still for an extended exposure.
Tripod, tabletop support, or handheld setup
A full tripod is generally the most useful option for static scenes at slow shutter speeds. It can support a composed skyline or waterfront frame without relying on steady hands. A tabletop support may be useful when a safe, solid surface is available, but it will not replace the flexibility of a tripod. Handheld shooting remains useful for moving through streets quickly, especially when a tripod is impractical, but image stabilization does not fully replace a tripod for very long exposures.
Remote shutter, self-timer, or camera-app control
A dedicated remote shutter or cable release can be convenient, but it is not the only trigger method. Many photographers can begin with the camera self-timer or a compatible camera app. The key question is simple: can you start the exposure without physically disturbing the camera? Before choosing a remote shutter, confirm the connection and model compatibility for your camera.
Spare battery, power bank, and charging options
A charged spare battery is a straightforward safeguard for longer sessions. Cold conditions can reduce battery performance, so keeping an extra battery available can be particularly helpful outside. If you are considering a power bank or other charging accessory, check what your camera and charger support rather than assuming every device can be charged the same way.
Quick comparison table: purpose, compatibility, and value
The best value is often the item that removes the interruption in your current workflow. If your images blur during long exposures, prioritize support. If your camera is stable but the frame shifts when you press the shutter, prioritize trigger control. If a session ends because power runs out, prioritize an extra battery before adding specialty accessories.
How to Build a Stable Night Photography Setup
A stable setup depends on more than owning a tripod. Camera weight, lens size, the surface under the legs, and the way you operate the shutter all affect the result. Even good camera accessories cannot guarantee sharp images when focus, exposure, or tripod placement is poor.
Check tripod load capacity, height, leg locks, and head type
When comparing a tripod, consider whether it is appropriate for your camera and lens combination. Check the manufacturer’s stated load capacity, the usable working height, the leg-lock design, and the head type. A compact travel tripod can be appealing for its portability, but it may not be the right choice if it feels unstable with your actual camera setup. Confirm product durability and compatibility through the manufacturer or seller before purchasing.
Reduce vibration during long exposures
Place the tripod on stable ground and avoid touching the camera while the exposure begins. Use a remote shutter, cable release, self-timer, or compatible app when possible. Keep the composition clear of areas where people may bump the legs, and do not extend the setup into a walkway. Careful placement matters as much as the accessory itself.
Protect cameras and lenses from rain, dust, and condensation
Outdoor night sessions can involve changing weather and surfaces. A camera bag that keeps your equipment organized and protected can make transitions easier, especially when traveling between locations. Check how a bag handles your camera body, lens size, tripod carry method, and expected conditions. Use protective accessories thoughtfully; poor handling or rushed lens changes can still create problems.
Accessories for City Skylines, Light Trails, and Travel Nights
The right night photography kit changes with the subject. A waterfront skyline has different needs from a fast-moving street scene, and a carry-on travel setup requires different compromises from a local photo walk.
Skyline and waterfront photography
For static city views, prioritize a stable tripod and a trigger method. Slow shutter speeds can make camera movement more visible, so this is the situation where a solid support often has the clearest benefit. A lens hood may help with stray light in some frames, but repositioning the camera can also be necessary when bright streetlights create flare.
Street scenes and handheld low-light shooting
Handheld shooting can be the more practical choice in busy areas where setting up a tripod is difficult or inappropriate. Image stabilization can help in this situation, but it is not a complete substitute for stable support when exposures become very long. Keep the setup compact, remain aware of pedestrians and traffic, and avoid using lights or reflective accessories in a way that could disturb others.
Light trails and intentional long exposures

Light trails usually call for a stable camera position and a deliberate exposure plan. A tripod and trigger method are the first accessories to consider. A neutral density filter can be relevant if you specifically want to extend exposure time, but it is not automatically necessary for night light trails. Add one only when it serves that clear creative goal.
Compact gear choices for carry-on travel
Travel camera gear should balance stability with the amount you can realistically carry. A smaller tripod, spare battery, compact remote option, and protective camera bag may be more practical than a large collection of accessories. Before flying or traveling to a new location, verify the product dimensions, battery handling guidance, and local tripod rules that may affect where you can set up.
Common Gear Mistakes That Cost You Sharp Images
Many night photography problems come from mismatching gear to the scene. Avoid buying around a label such as “travel” or “professional” without checking how the equipment performs with your camera, lens, and location.
Buying a tripod that is too light for the camera and lens
A lightweight tripod can be easier to carry, but it may be a poor fit if your camera and lens setup feels unstable. Compare the tripod’s stated specifications with your equipment, and assess the leg locks and head type. A tripod that is inconvenient but steady may be more useful for long exposures than one that is easy to pack but unstable in use.
Ignoring battery drain in cold weather
Cold conditions can reduce battery performance. Bring a charged spare battery for an extended outdoor shoot rather than assuming the battery that worked indoors will last the same way outside. Confirm the correct battery model and charging method before your trip.
Using filters without a specific exposure or reflection goal
Filters are not a default requirement for night shooting. A neutral density filter is most relevant when you intentionally want to lengthen exposure time. If you cannot explain what it changes in your planned image, it may be better to spend first on stability, trigger control, or spare power.
Setting up where tripods create a safety or access problem
A tripod should not block a public walkway, disrupt drivers, or create an access issue for others. Local rules may also affect tripod use in certain places. Choose a stable location with adequate space, and relocate if your setup creates a safety concern.
Selection Criteria and Comparison Summary
Choose the accessory that removes your biggest current shooting limitation. If blurred long exposures are the problem, begin with a tripod. If the composition moves at the shutter press, use a self-timer, remote shutter, cable release, or compatible app. If power limits your session, carry a charged spare battery.
Best first purchase for most night photographers
A stable tripod is usually the strongest first purchase for photographers who make static night scenes. It directly addresses camera movement at slow shutter speeds and creates more flexibility for deliberate composition.
When a higher-capacity tripod is worth the extra cost
Consider a higher-capacity tripod when your camera and lens combination requires more support, or when the tripod you own feels unstable in the conditions where you shoot. Check the manufacturer’s stated load capacity, the head type, leg locks, height, and compatibility rather than relying on category labels alone.
A practical accessory checklist before checkout
Check your camera and lens weight. Confirm remote shutter or cable-release compatibility. Verify that spare batteries match your camera model. Consider your bag space and travel needs. Review local tripod restrictions for your intended location. Official product pages and seller listings are the right place to verify current compatibility, capacity, durability details, and retail conditions.
Closing Thoughts
Night photography accessories work best when each item has a clear job. Build around stable support, low-vibration triggering, and reliable power before adding specialized equipment. Keep your setup appropriate for the place you are shooting, especially in crowded streets or shared public spaces. A smaller kit that you can set up confidently is often more useful than a bag full of accessories with no defined purpose.
Useful Things to Know
1. Long exposures make small camera movements more visible.
2. A self-timer can be a practical alternative to a remote shutter for many setups.
3. Image stabilization can help handheld shooting, but it does not fully replace a tripod for very long exposures.
4. A lens hood can help with some stray light, but bright streetlights may still cause flare.
5. Use lights and reflective accessories carefully around drivers, residents, and other photographers.
Important Considerations
No accessory can guarantee sharp night photos if focus, exposure, or tripod placement is poor. The right choice depends on your camera weight, lens size, weather, subject movement, and local tripod rules. Product compatibility, durability, load capacity, and current retail details should always be confirmed with the manufacturer or seller before buying.
Frequently Asked Questions
Q1. What is the most important accessory for night photography?
A1. For static scenes at slow shutter speeds, a stable tripod is generally the most useful accessory because it helps reduce camera movement that can affect sharpness.
Q2. Do I need an expensive tripod for city night photography?
A2. Not necessarily. The important point is whether the tripod is suitable for your camera and lens, stable on the surface where you shoot, and practical for your carry needs. Check load capacity, height, leg locks, and head type before deciding.
Q3. Is a remote shutter necessary, or is the camera self-timer enough?
A3. A self-timer can be enough because it reduces movement from pressing the shutter button. A remote shutter, cable release, or camera-app control may be useful when you want a more direct way to trigger the camera, provided it is compatible with your model.